
None of us likes accidents, but they are sometimes unavoidable. When possible, we’ll disguise workshop oopsies with wood – a plug, shim, wedge or dutchman. Sometimes we’ll add a metal plate (a decorative one if it shows) to keep a split from getting larger (and even when we know it won’t get larger, to add peace of mind for a future owner). But sometimes, we have to resort to wood filler. And for that, we most often reach for Durham’s Rock Hard Water Putty.
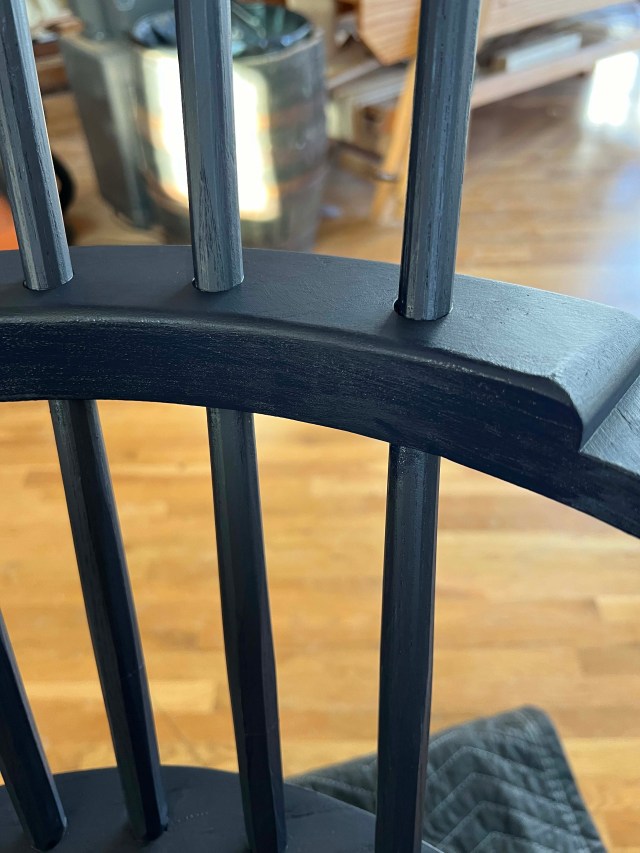
On a recent chair build, Chris experienced a little non-structural blow-out on the underside of the armbow, and it showed when the chair was viewed from the front. Patching it with wood could be done, but it would be a right royal pain in the posterior, and it would still show. That made the repair decision and thus the finish decision easy: paint.
Listen beautiful relax classics on our Youtube channel.

Why paint? Because Durham’s dries darn-near white, shows under a clear finish and doesn’t take stain. (Neither does any other filler I’ve tried, and that includes glue and sawdust,) But Durham’s doesn’t shrink or fall out, it dries fast, is easy to use and takes paint beautifully. And the packaging is fantastic!
Simply put a small amount of the powder in a Dixie cup (I usually scoop no more than a teaspoon, a) because I rarely need more, and b) it dries so quickly that by the time you’ve used that amount, anything left in the cup is probably too dry to use). Now add water – sparingly – and stir it up. The mixed putty should be about the consistency of creamy peanut butter to use on a flat surface, and a little thicker if you need a mold an edge. A small scoop of the powder will need only two to three drops of water.
A common mistake is to put water in a cup then add powder – that almost always results in far too much product, because two to three drops of water in a cup looks too lonely and you inevitably put in more than that. Then you have to add a lot of powder to soak it up, so you end up with too much putty and have to throw lots away. Not a big deal given the cost, but I hate wasting things.
If you’re filling a deep crater or damage on an edge, you don’t typically want to do it all in one go; it will take too long to dry. Fill it below the surface (I use a flexible metal putty knife), as I’ve done in the photo below, and let it dry completely before adding more on top to create the show surface(s). That means mixing another, even smaller amount for the second application.

After the putty turns from tan to near-white, sand as needed. If you’re working on a shallow repair on a flat surface, sand it flat using a block so that it ends up perfectly flush. If you’re working on a deeper repair, sand flush any product that landed outside your work area (as on the armbow above), mix another batch of putty – and in this case, my second mix was thicker, so I could mold the corner without it sagging. Work quickly and don’t overwork it. You likely won’t be able to make a perfectly crisp corner with the wet putty. But you can sand away the excess after it dries for a perfect (or near-enough-perfect) repair.
– Fitz
Source: lostartpress.com