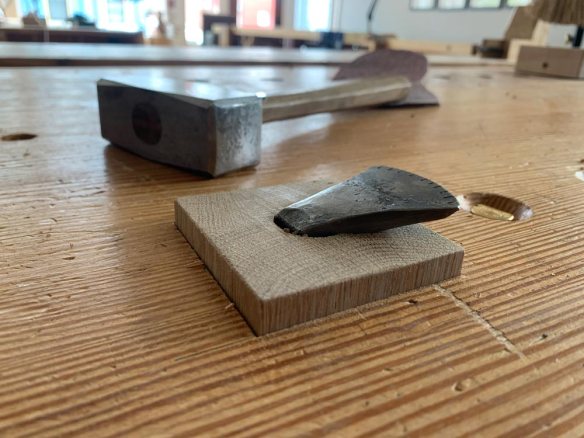

The single-point planing stop is one of my most useful bench workholding appliances (the other two are a holdfast and my leg vise). There are lots of commercial ones available, including those from Tools for Working Wood and Benchcrafted. I like blacksmith-made ones. Not because they function better (they don’t) but because I like the way they look.
Many woodworkers are terrified of cutting a huge mortise in their benchtop. Don’t be. It’s easy work and is worth the trouble. Here’s how I do it.

The wooden section of my planing stop is 3” x 3” x 12”, a historical size. So I lay out the location of the mortise with knife lines and blue tape. Then I chop the perimeter with a wide chisel to keep my opening crisp during the whole process.
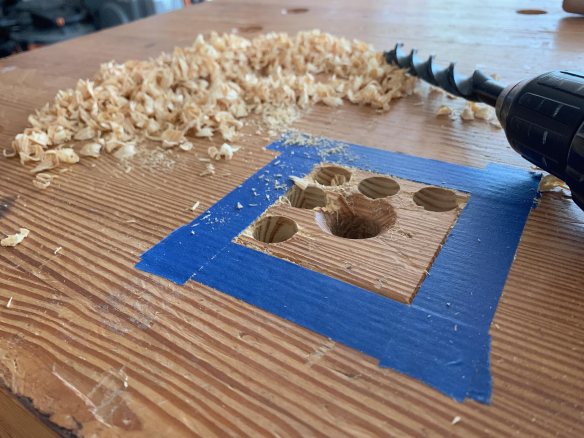
I try to drill out as much waste as possible. Here I’m using a 3/4” WoodOwl bit. These chew through benchtops better than any bit I’ve used.
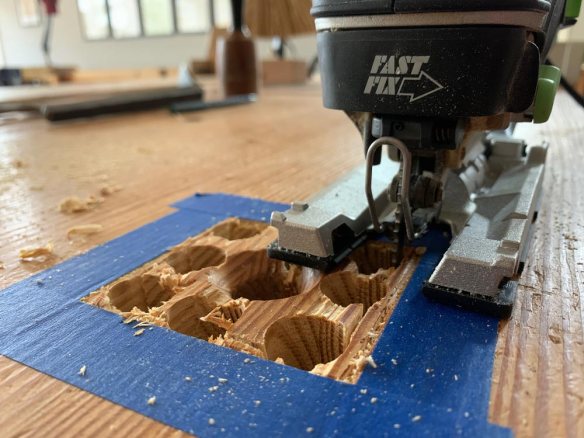
Then I use a jigsaw to remove the big chunks.
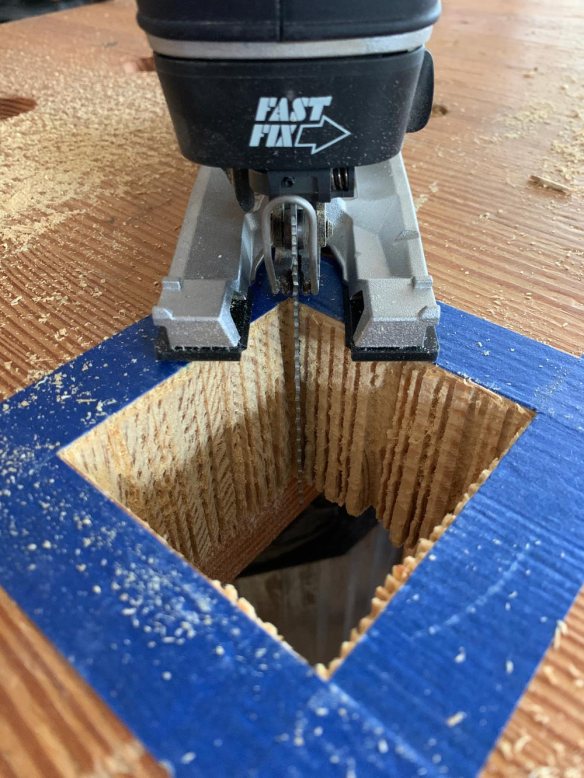

Then I nibble up to my chisel line all around the mortise. This is a key step. The saw kerfs break up the waste, allowing it to be easily pared away. And the kerfs serve as a guide to being 90°. When the kerfs disappear, the mortise wall is 90°.

Then I pare away the corduroy-like bits of wooden waste on the walls.
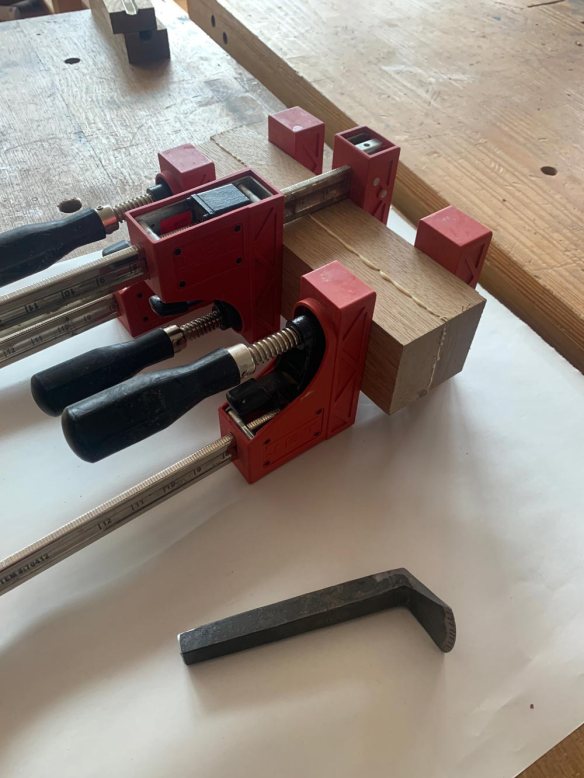
I don’t have any 3”-thick stock. So I glued up the planing stop from two pieces of 8/4 oak. Then I sawed and planed the blank until it was a tight fit in the mortise.
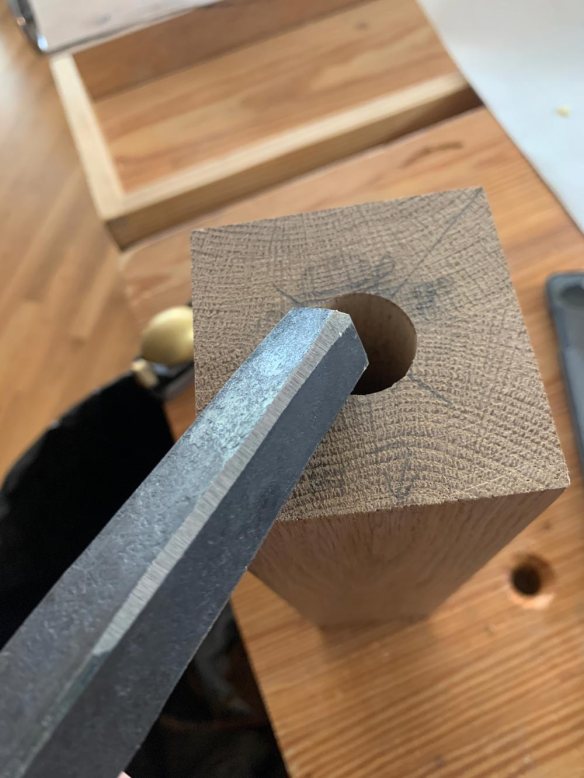
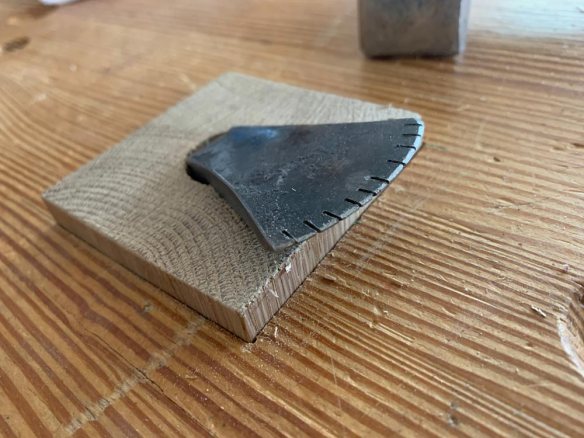
Fitting a blacksmith planing stop looks harder than it really is. The tapered shaft calls for a tapered hole (that is, if you cannot heat up the shaft in a forge and burn it into the block). Measure across the corners of the tapered shaft – that’s the largest dimension.
The biggest dimension is at the top of the planing stop. In my case it was 1”. So I first drilled a 1” hole that was about two-thirds the length of the shaft. Then I measured the shaft at the bottom, corner to corner. And I chose a bit that was about .01” smaller.
If you don’t have a bit that suits the shaft, grind down the corners to match an existing bit.
The goal is that the tapered shaft should wedge in the bottom of the hole. Yet it won’t split the wood. Too loose is better than too tight. That’s because “too loose” can be fixed with epoxy.
Hammer the planing stop into its hole. Then knock the whole thing into your benchtop.
If it gets loose over time, shim the mortise or planing stop with veneer. If it’s too tight, remove the stop (you might need a sledge) and plane it down. After a year or so, it will be tuned up and things won’t move too much.
— Christopher Schwarz
Source: lostartpress.com